Pretty Plum Cowl
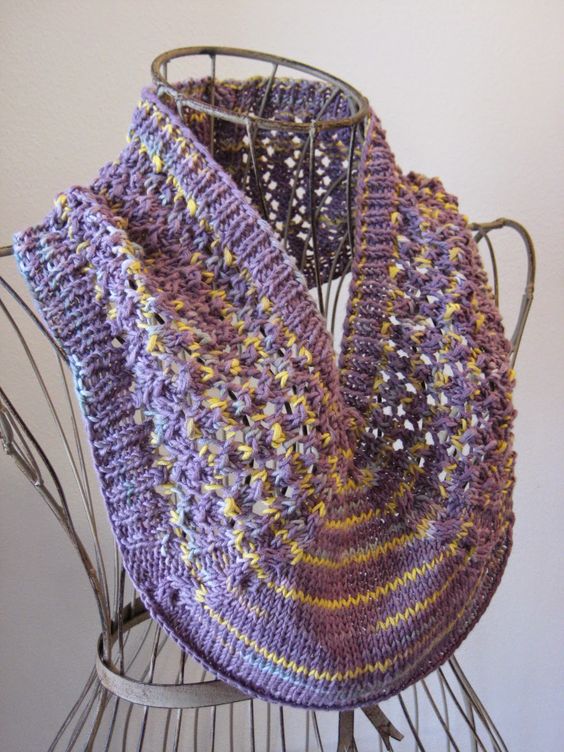
The Pretty Plum Cowl is a charming, cozy accessory for chilly days. This stylish knitted or crocheted piece, featuring a rich plum color, complements various winter outfits and adds warmth to your neck. Perfect for those who love incorporating fashionable and comfortable elements into their wardrobe, the Pretty Plum Cowl makes an excellent DIY project or a thoughtful gift.
Yarn: Schachenmayr smc Cotton Bamboo Batik (50% Cotton, 50% Viscose (Bamboo); 131 yards [120 meters]/50 grams); #95 Plum Mix - two skeins
Needles: One 24" circular needle in size 6, cable needle (cn) or double pointed needle for cabling
Notions: Tapestry needle, seven stitch markers
Gauge: 22 stitches = 4 inches
And now that that's out of the way, let's get started! First, then, cast on 136 stitches, place marker, and join in round. Then, knit the following set-up rows, during which you'll be placing all of your extra markers. Oh, and you'll need the following notation:
bc (back cross): slip 2 stitches to cn and hold in back, k2, k2 from cn
A Treasury of Knitting Patterns, as well as Elongated Chain Cable, from page 246 of the same. And it goes like so:
Row 1 and all odd rows: k4, p2, slip marker, knit until next marker, slip marker, p2, k4, slip marker, knit until next marker, slip marker, k4, p2, slip marker, knit until next marker, slip marker, p2, k4
Row 2: bc, p2, slip marker, k1, * k3, yo, sl1-k2tog-psso, yo * until you're one stitch from next marker, k1, slip marker, p2, fc, slip marker, m1l, knit until next marker, m1r, slip marker, bc, p2, slip marker, k1, * k3, yo, sl1-k2tog-psso, yo * until you're one stitch from next marker, k1, slip marker, p2, fc
Row 4: k4, p2, slip marker, k1, * yo, sl1-k2tog-psso, yo, k3 * until you're one stitch from next marker, k1, slip marker, p2, k4, slip marker, m1l, knit until next marker, m1r, slip marker, k4, p2, slip marker, k1, * yo, sl1-k2tog-psso, yo, k3 * until you're one stitch from next marker, k1, slip marker, p2, k4
Row 6: k4, p2, slip marker, k1, * k3, yo, sl1-k2tog-psso, yo * until you're one stitch from next marker, k1, slip marker, p2, k4, slip marker, m1l, knit until next marker, m1r, slip marker, k4, p2, slip marker, k1, * k3, yo, sl1-k2tog-psso, yo * until you're one stitch from next marker, k1, slip marker, p2, k4
Row 8: fc, p2, slip marker, k1, * yo, sl1-k2tog-psso, yo, k3 * until you're one stitch from next marker, k1, slip marker, p2, bc, slip marker, m1l, knit until next marker, m1r, slip marker, fc, p2, slip marker, k1, * yo, sl1-k2tog-psso, yo, k3 * until you're one stitch from next marker, k1, slip marker, p2, bc
Row 10: same as row 6
Row 12: same as row 4
Knit rows 1 - 12 two times, and then knit rows 1 - 9 once more. Then we'll be moving on to the bottom edge of the pattern, which goes as follows:
Rows 1 & 3: k4, p2, slip marker, * k1, p1 * until next marker, slip marker, p2, k4, slip marker, m1l, knit until next marker, m1r, slip marker, k4, p2, slip marker, * p1, k1 * until next marker, slip marker, p2, k4
Rows 2, 4 & 6: k4, p2, slip marker, * k1, p1 * until next marker, slip marker, p2, k4, slip marker, knit until next marker, slip marker, k4, p2, slip marker, * p1, k1 * until next marker, slip marker, p2, k4
Row 5: bc, p2, slip marker, * k1, p1 * until next marker, slip marker, p2, fc, slip marker, m1l, knit until next marker, m1r, slip marker, bc, p2, slip marker, * p1, k1 * until next marker, slip marker, p2, fc
Work rows 1 - 6 once and then bind off loosely, knitting the knit stitches and purling the purl stitches. Tuck in ends. And finally; block, if desired (the stockinette portion will probably curl otherwise).