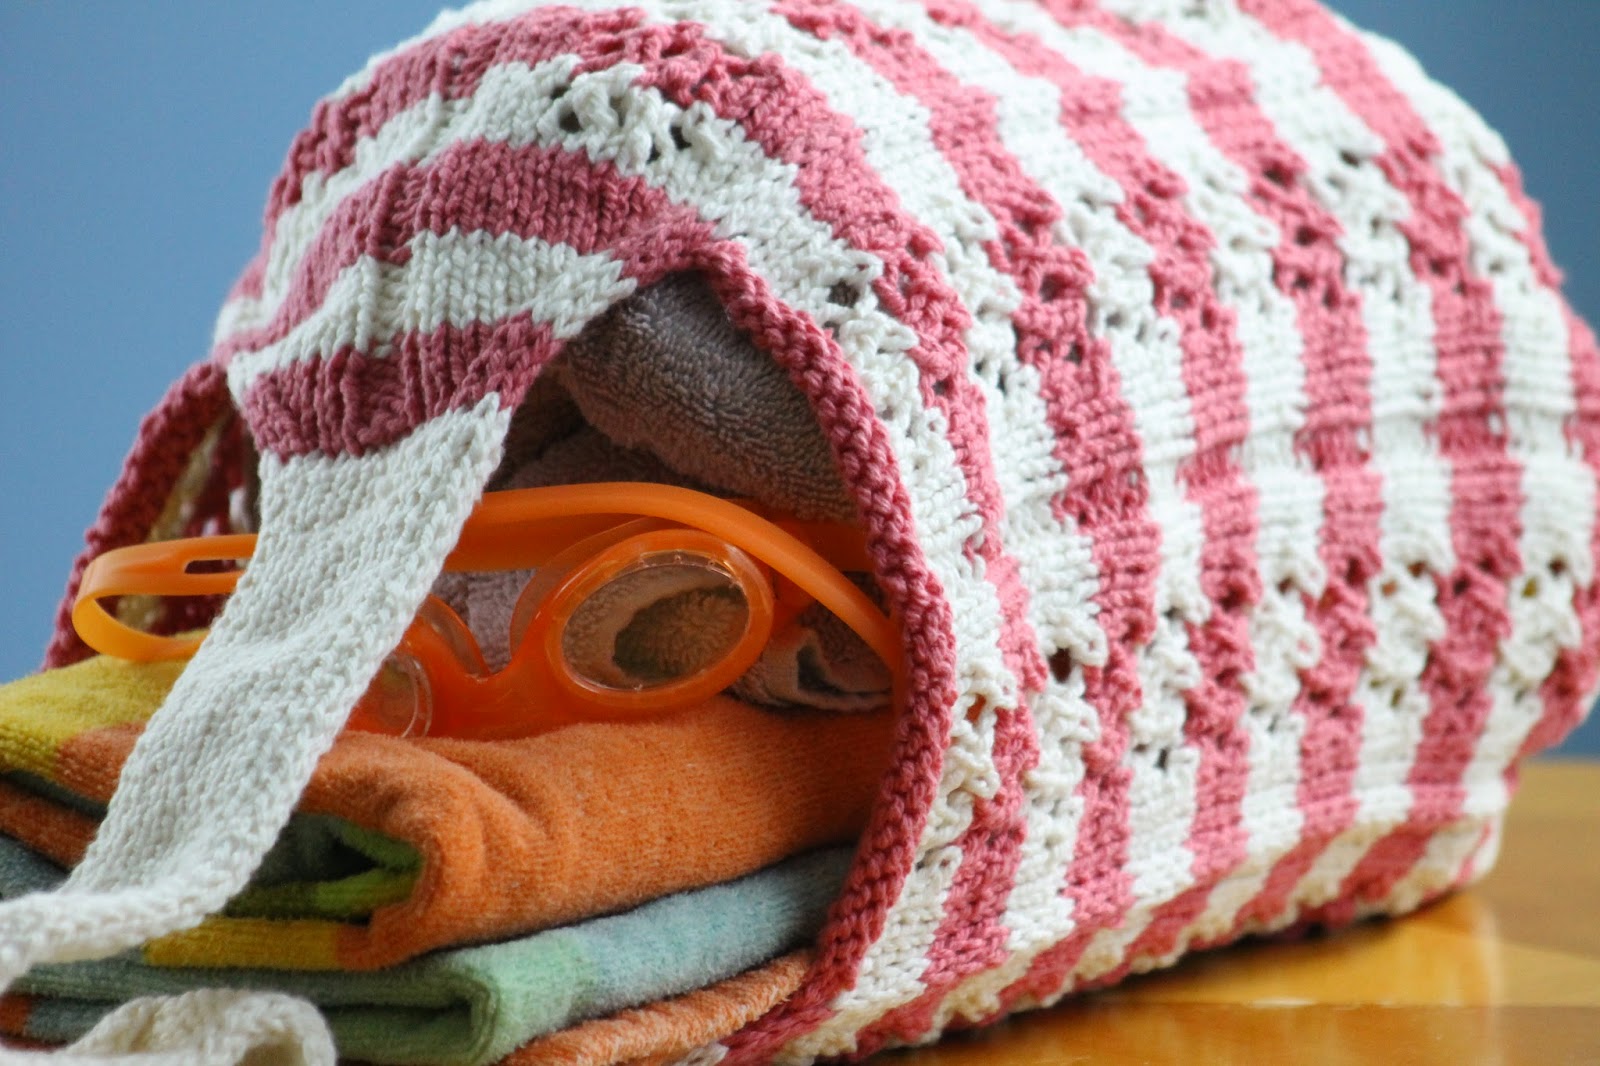
Knitted Funner Summer Beach Bag
Picture yourself strolling along the sandy shores, the sun shining brightly overhead, with a stylish and practical accessory by your side - the Knitted Funner Summer Beach Bag. This trendy bag is not only perfect for carrying all your beach essentials, but it also adds a touch of fun and flair to your summer outfit. Made from high-quality knitted material, this bag is durable and spacious enough to hold your sunscreen, towel, snacks, and more. The Knitted Funner Summer Beach Bag is designed with a vibrant color palette and a playful pattern that will surely make you stand out on the beach. Its sturdy handles ensure comfortable carrying, while the roomy interior provides ample space for all your belongings. Whether you're lounging by the water or exploring the boardwalk, this beach bag is a must-have accessory for a stylish and enjoyable summer season.

Yarn: Plymouth Yarn Whitney (91% Cotton, 9% Nylon; 87 yards [89 meters]/50 grams); #1001 Natural - three skeins (color A), #1009 Cranberry - two skeins (color B)
Needles: One set of double pointed needles in size US 8, one 16" circular needle in size US 8
Notions: Tapestry needle, 9 stitch markers
Gauge: 17 stitches = 4 inches
So let's make a bag! First, then, I should mention that any time you're slipping stitches in this bag, you're pulling the yarn tight behind them. This will help to create that faux i-cord rib, and the edges of the strap. I should also mention that this bag is worked bottom-up. So with that in mind, using your color A yarn and your dpns, cast on 8 stitches loosely, divide evenly between four dpns, and join in round. Then we'll work a few set-up rows, as follows:
Set-up Row 1: using color A, * p1, m1r, p1; rep from * (+4 stitches)
Set-up Row 2: using color A, * p1, slip 1 with yarn in back (wyib), p1 *
Set-up Row 3: using color A, * p1, m1r, k1, m1l, p1 * (+8 stitches)
Once these three set-up rows are done, we'll knit a marker placement row, as follows:
Set-up Row 4: using color A, * p1, place marker, slip 3 wyib, place marker, p1 *
And once that guy is done, we'll move on to our main increase pattern, like so:
Increase Row 1: using color A, * p1, knit until you reach marker, m1r, slip marker, k3, slip marker, m1l, knit until you have one stitch left on needle, p1 * (and yes, that means that you will not have any stitches to knit between your purls and your increases on your first repeat of this row) (+ 8 stitches)
Increase Row 2: using color A, * p1, knit until you reach marker, slip marker, slip 3 wyib, slip marker, knit until you have one stitch left on needle, p1 *
Increase Rows 3 - 8: using color B, knit increase rows 1 & 2 three times (+24 stitches)
Increase Rows 9 - 14: using color A, knit increase rows 1 & 2 three times
(+24 stitches)
Increase Rows 15 - 20: using color B, knit increase rows 1 & 2 three times
(+24 stitches)
Increase Rows 21 - 24: using color A, knit increase rows 1 & 2 twice
(+16 stitches)
Knit increase rows 1 - 24. At this point, you should 116 stitches on your needles. Transfer work to your circular needle, placing a row marker when you do so. If desired, you can remove your extra markers now, or you can leave them in to remind you where your faux i-cord are. Anyway, once it's transferred we'll knit two transition rows, as follows:
Transition Row 1: using color A, * p1, k27, p1 *
Transition Row 2: using color A, * p1, k12, slip 3 wyib, k12, p1 *
Knit these two transition rows, and then we'll begin the main pattern, for which you'll need the following notation:
rt (right twist): knit two together, leaving stitches on left-hand needle; next, insert right-hand needle from the front between the two stitches just knitted together, and knit the first stitch again. Finally, slip both stitches from left-hand needle together.
And now that we know that, let's continue as follows:
Row 1: using color B, * p1, k3, k2tog, yo, rt, yo, ssk, k9, k2tog, yo, rt, yo, ssk, k3, p1 *
Row 2: using color B, * p1, k12, slip 3 wyib, k12, p1 *
Row 3: using color B, * p1, k2, k2tog, yo, k2tog, (yo) twice, ssk, yo, ssk, k7, k2tog, yo, k2tog, (yo) twice, ssk, yo, ssk, k2, p1 *
Row 4: using color B, * p1, k5, (p1, k1) in double yo, k5, slip 3 wyib, k5, (p1, k1) in double yo, k5, p1 *
Row 5: using color B, * p1, k4, yo, ssk, k2tog, yo, k11, yo, ssk, k2tog, yo, k4, p1 *
Row 6: using color B, repeat row 2
Rows 7 - 12: using color A, knit rows 1 - 6
Knit rows 1 - 12 six times. Now, we're going to divide our stitches into four groups in order to complete the strap and the edging. With that in mind, thread the 13 stitches on either side of the row marker (so 26 in total) on to one scrap of yarn. Thread the next 32 stitches onto a second scrap of yarn; the next 26 onto a third scrap of yarn, and the final 32 onto a fourth scrap of yarn. Your 32-stitch clumps will become the strap, so let's work on those first. Choosing either section of 32 stitches, place stitches back on needles and we'll begin to work back and forth as follows. Notice the marker placement row to start.
Row 1 (right side): using color B, k3, ssk, k10, place marker, p2, place marker, k10, k2tog, k3 (-2 stitches)
Rows 2, 4 & 6: using color B, slip 3 with yarn in front (wyif), purl until you reach marker, slip marker, k2, slip marker, purl until you have 3 stitches left in row, slip 3 wyif
Rows 3 & 5: using color B, k3, ssk, knit until you reach stitch marker, slip marker, p2, slip marker, knit until you have five stitches left in row, k2tog, k3 (-2 stitches each)
Row 7 - 12: using color A, knit rows 1 - 6, replacing row 1 with row 3 (since you don't need to place markers again) (-6 stitches)
Rows 13 - 18: using color B, knit rows 1 - 6, replacing row 1 with row 3 (-6 stitches)
Knit rows 1 - 18 and cut your color B yarn tail, since we're done with it. Then we'll begin our main strap pattern, as follows:
Strap Row 1 (right side): using color A, knit
Strap Row 2: using color A, slip 3 wyif, purl until there are 3 stitches left in row, slip 3 wyif
Knit strap rows 1 & 2 until the main strap section measures roughly 24" and you've just finished row 2 of the pattern. Transfer live stitches to a scrap of yarn for safekeeping and then place the other set of 32 stitches on your needles (this set should be across from the first one). Continue like so:
Row 1 (right side): using color B, k3, ssk, k10, place marker, p2, place marker, k10, k2tog, k3 (-2 stitches)
Rows 2, 4 & 6: using color B, slip 3 with yarn in front (wyif), purl until you reach marker, slip marker, k2, slip marker, purl until you have 3 stitches left in row, slip 3 wyif
Rows 3 & 5: using color B, k3, ssk, knit until you reach stitch marker, slip marker, p2, slip marker, knit until you have five stitches left in row, k2tog, k3 (-2 stitches each)
Row 7 - 12: using color A, knit rows 1 - 6, replacing row 1 with row 3 (since you don't need to place markers again) (-6 stitches)
Rows 13 - 18: using color B, knit rows 1 - 6, replacing row 1 with row 3 (-6 stitches)
Knit rows 1 - 18 and clip your color B yarn tail. Then knit the following two strap rows:
Strap Row 1 (right side): using color A, knit
Strap Row 2: using color A, slip 3 wyif, knit until there are 3 stitches left in row, slip 3 wyif
Now, you should have live stitches on either end of your strap. Use the Kitchener stitch to graft strap together. Finally, transfer one of your remaining sets of 26 stitches on to your needles. Complete the edging as follows:
Edging Row 1 (right side): using color B, knit
Edging Row 2: using color B, knit
Edging Row 3: using color B, purl
Edging Row 4: using color B, knit
Knit these four edging rows and bind off loosely. Repeat with final 26 stitch section. Stitch edging in place where it curls under naturally, and then throw in a couple of stitches between the edge of the edging and the strap in order to secure them. Tuck in ends and block.