Knitted Herringbone Throw Pillow
Imagine a cozy evening spent on the couch, surrounded by soft and stylish decor. Picture a beautifully crafted Herringbone Throw Pillow, intricately knitted to perfection. The texture of the pillow adds depth and character to any room, while the herringbone pattern brings a touch of elegance and sophistication. Whether placed on a sofa, armchair, or bed, this knitted throw pillow is sure to be a standout piece in your home decor. Made from high-quality materials, this pillow is not only visually appealing but also comfortable to lean against or rest your head on. The intricate knitting technique used to create the herringbone pattern adds a unique touch to the pillow, making it a conversation starter among guests. Elevate your home decor with this stylish and cozy throw pillow that combines craftsmanship with comfort.

Skill: Easy
Materials
- US size 15 (10mm) 14 inch straight knitting needles* (I highly recommend these needles!)
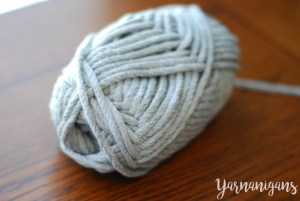
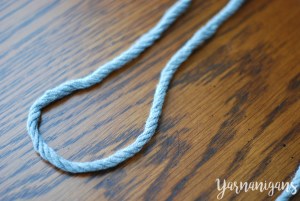
- At least 220 yards super chunky yarn (I used Yarn Bee Urban Adventure – 2 skeins gray, 1 skein each of denim, white, black. It has been discontinued by Hobby Lobby. See pattern notes below for alternative yarn choices)
- 14″ x 14″ pillow form*
- scissors
- super jumbo tapestry needle*
Abbreviations
- sts – stitches
- CO – cast on
- K – knit
- P – purl
Size
Finished pillow size = 14.5 inches x 15 inches
Gauge
8 sts and 10 rows per 4″
Special Stitch Definition
Knit Herringbone Stitch
Row 1
- K first stitch.
- Slip 1 stitch knit-wise.
- K 1.
- Insert the left needle into the previous slipped stitch.
- Lift it over the knitted stitch but do not drop it off the left needle.
- Insert the right needle into the slipped stitch from right to left.
- Wrap the yarn around the needle and pull it through as you would for a regular stitch.
- Repeat steps 2-7 for the remainder of the row.
Row 2 (wrong side)
- Insert your right needle in the next 2 stitches and P together, making sure not to slip them off the left needle.
- P in first stitch on the left needle, then slip both stitches off.
- Repeat steps 1-2 for the remainder of the row.
Continue to repeat rows 1 and 2.
Pattern Notes
Alternate yarn choices
Binding off
Being fairly new to knitting, I wasn’t aware that when using a pattern stitch, you also must bind off in pattern. My first attempt to bind off each and every stitch caused the edge to flair out since I cast off every loop on the needle. To save you all the trouble of reversing the bind off row, take note that when you bind off, do so in the knit herringbone row 1 pattern.
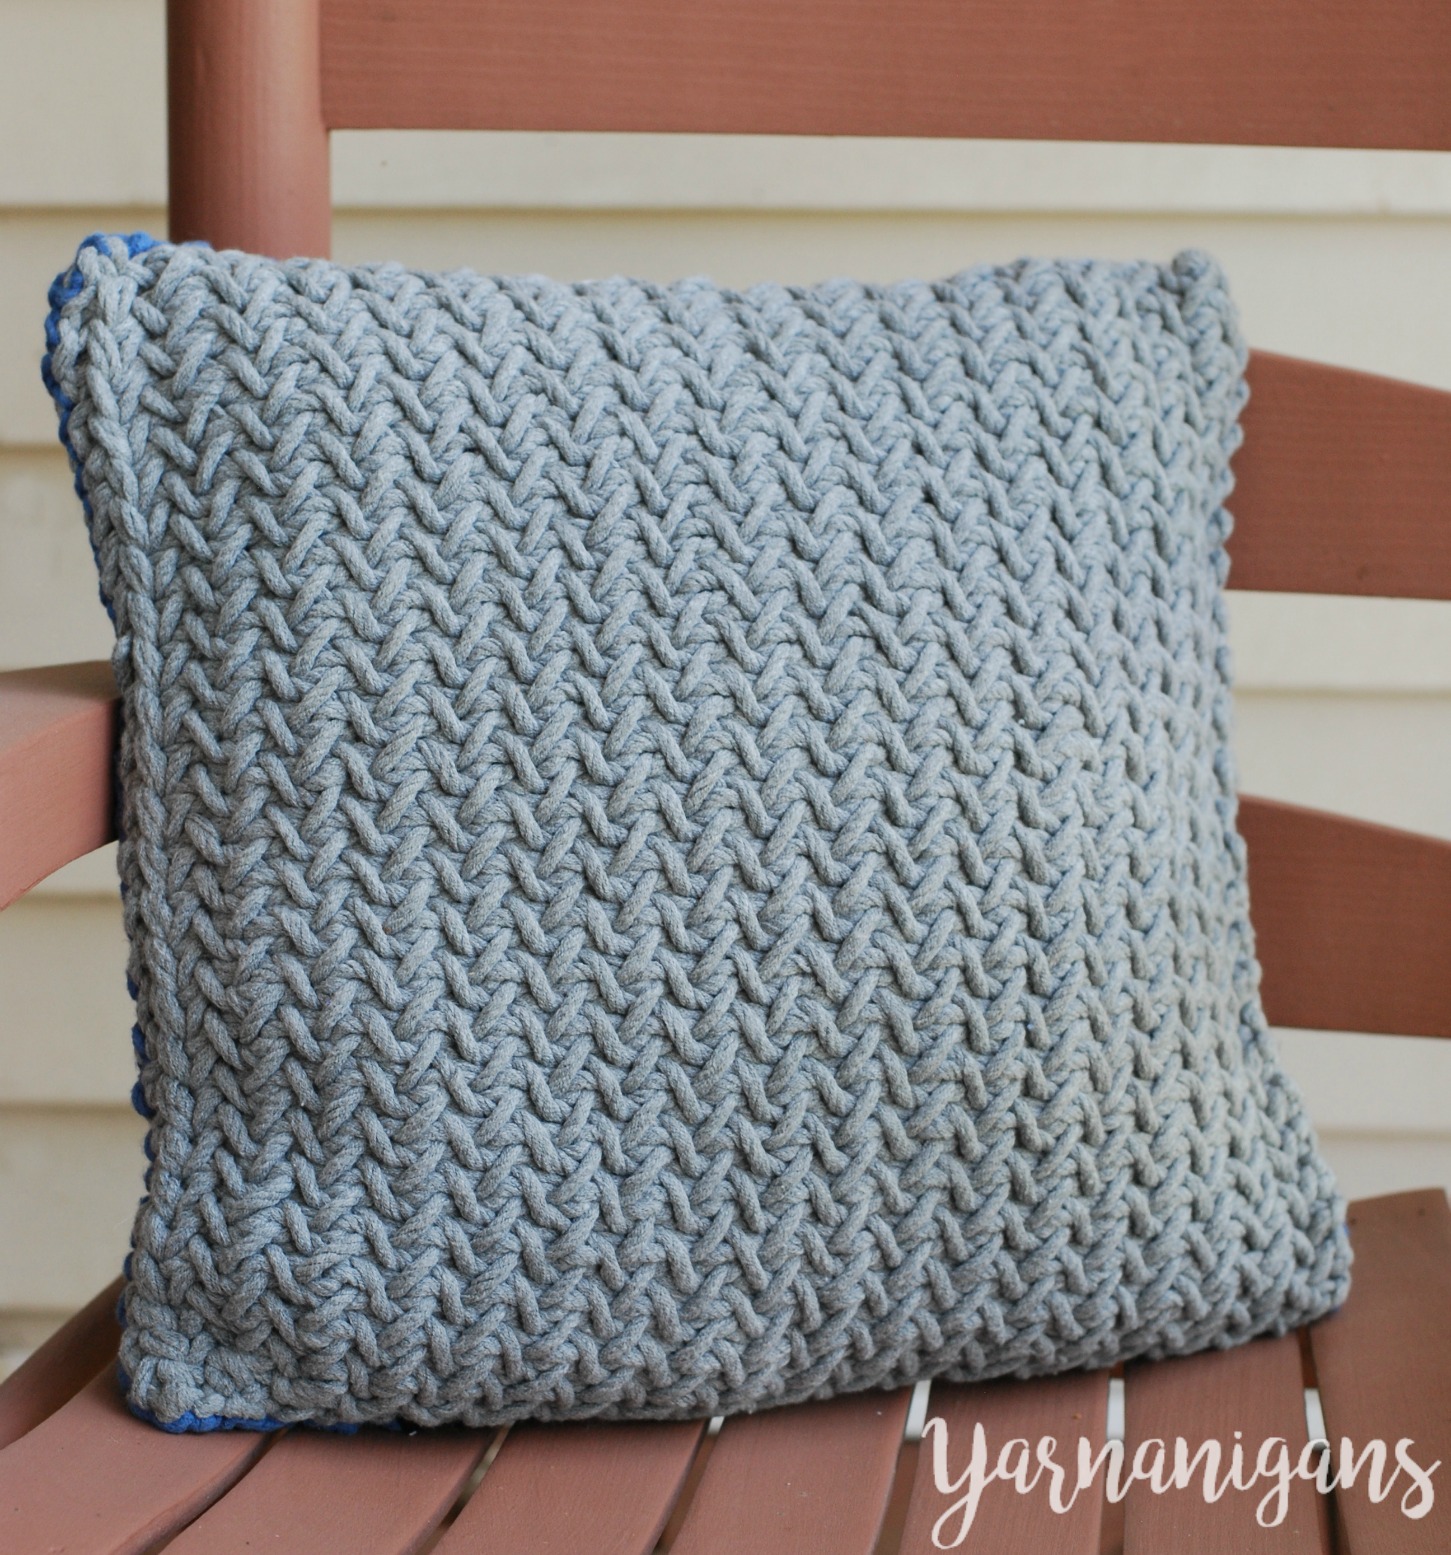
As you can see in the photos below, the panels do slant some. You can block the panels if you want to to get a straight edge on all four sides. It didn’t bother me having them slant so I just went with it!
The last note of advice on the pattern is to leave a long tail (approximately 48-60″) after you fasten off for sewing the front and back side panels together.
Pattern Instructions
Back Side
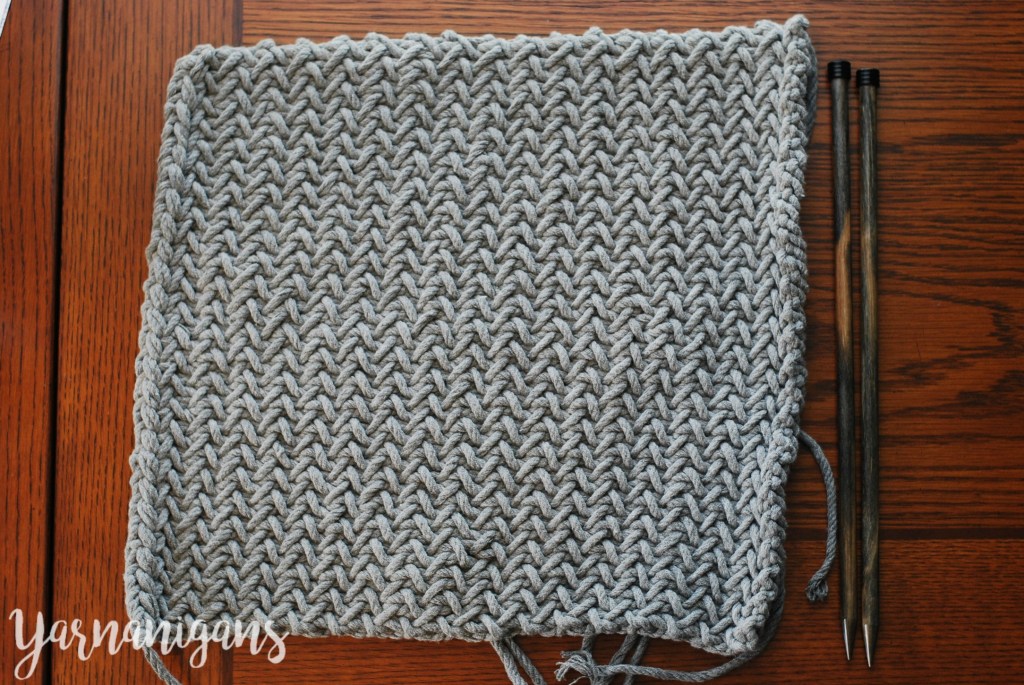
- With Gray color, CO 50 stitches.
- Follow the special stitch instructions for Row 1.
- Follow the special stitch instructions for Row 2.
- Continue repeating rows 1 & 2 until the fabric measures 15 inches.
- Bind off in the herringbone pattern sequence.
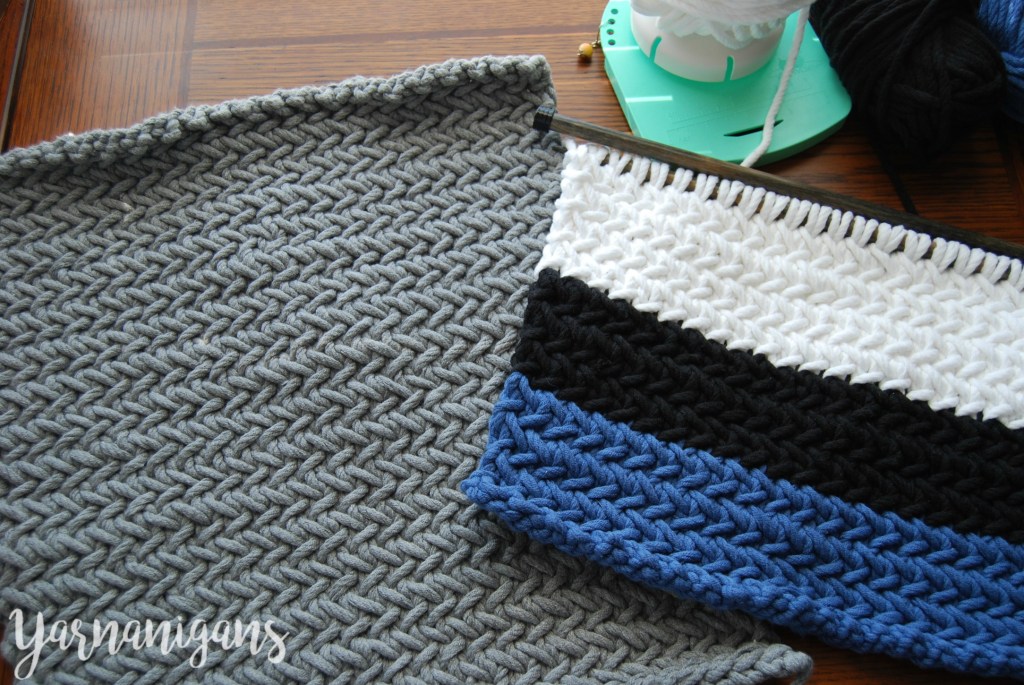
Front Side
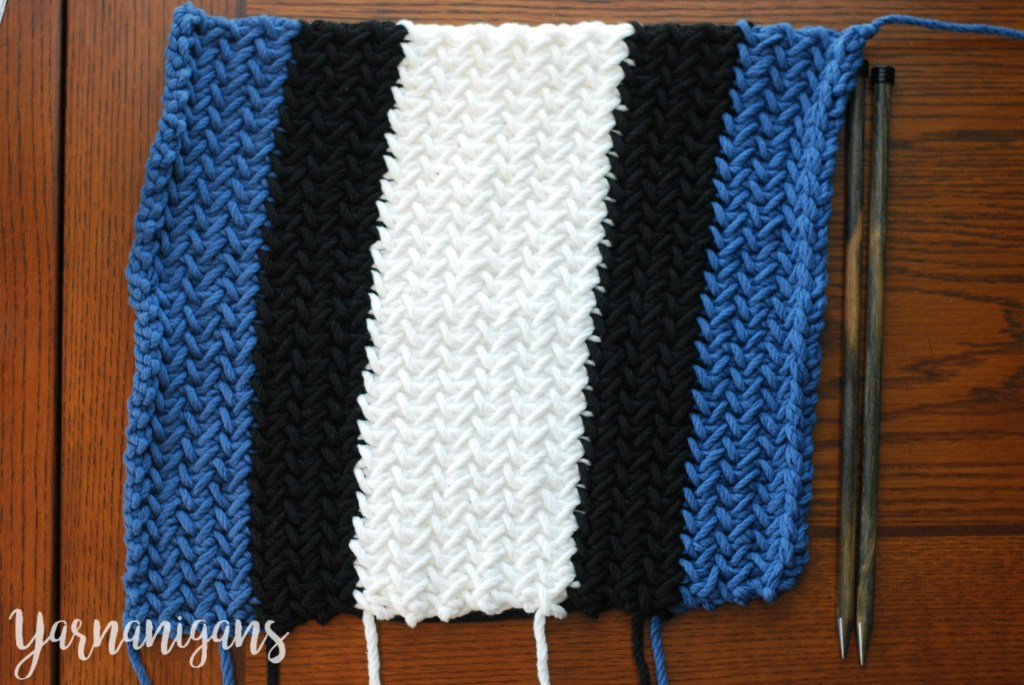
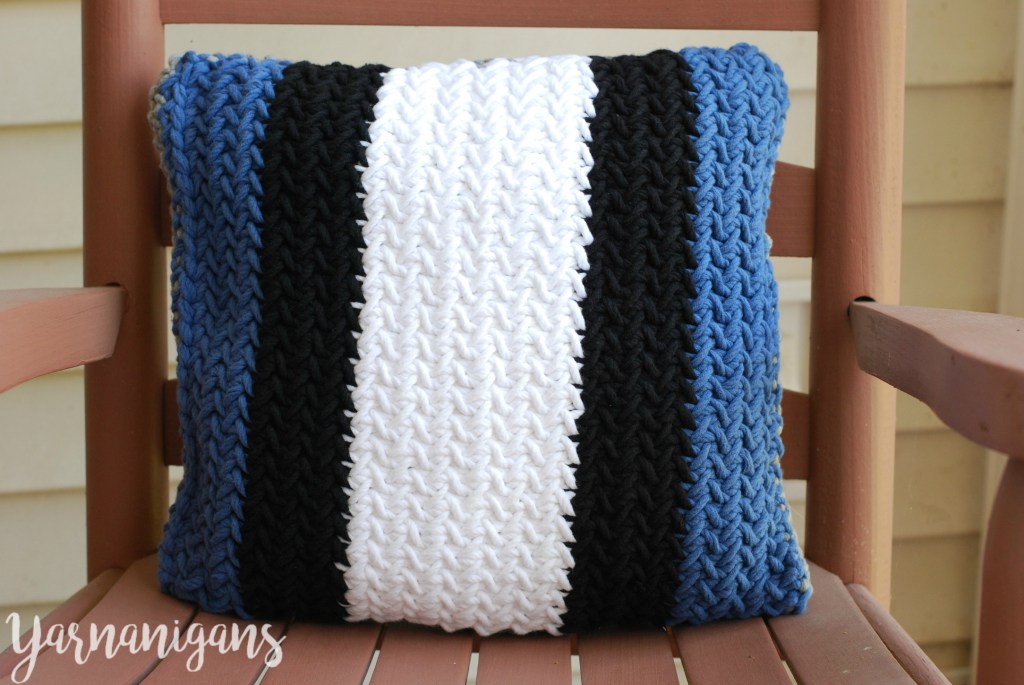
- With Blue color, CO 50 stitches.
- Repeat rows 1 and 2 from front side pattern above until fabric measures 2.5 inches.
- Switch to Black. Repeat Step 2.
- Switch to White. Repeat Step 2 but keep knitting until the fabric measures 5 inches.
- Repeat Step 3.
- Switch to Blue. Repeat Step 2.
- Bind off in the Row 1 herringbone pattern sequence.
Weave in all loose ends except for the long tail.
Assembly
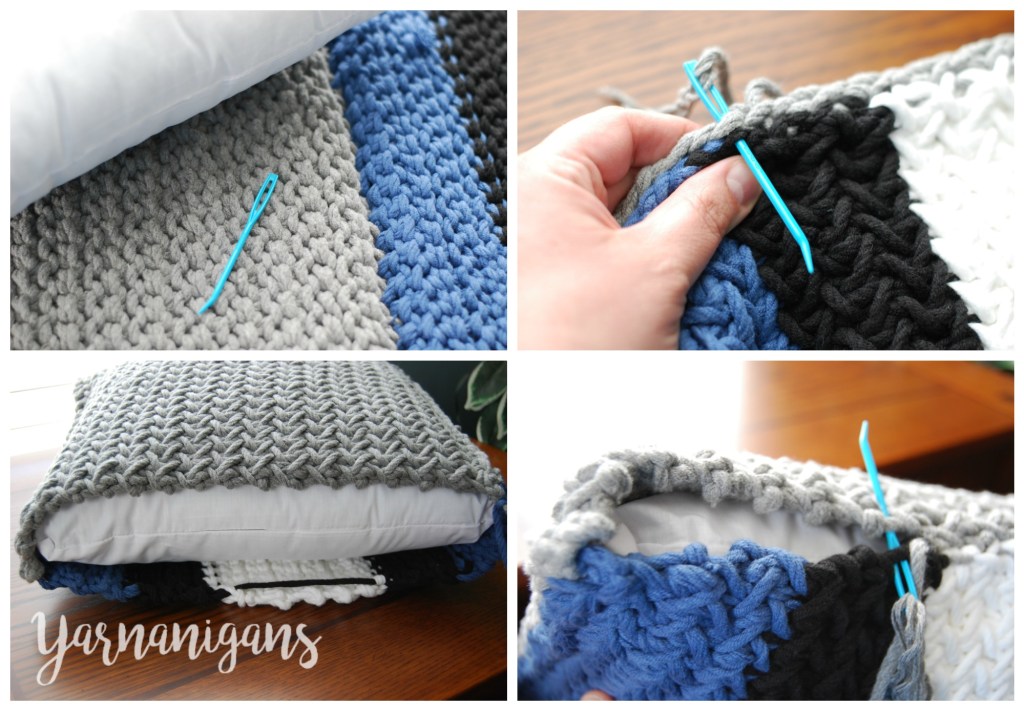
- Stack your knitted pieces on top of each other with wrong sides facing. With your super jumbo tapestry needle* and the long tail from either your front or back side panels, begin sewing the edges together using the mattress stitch.
- Continue sewing around the edge until 3 sides are closed.
- Slide the pillow form into the opening of the pillow case.
- Sew the last side closed.
- Fasten off and secure the loose end to the inside of the pillow.