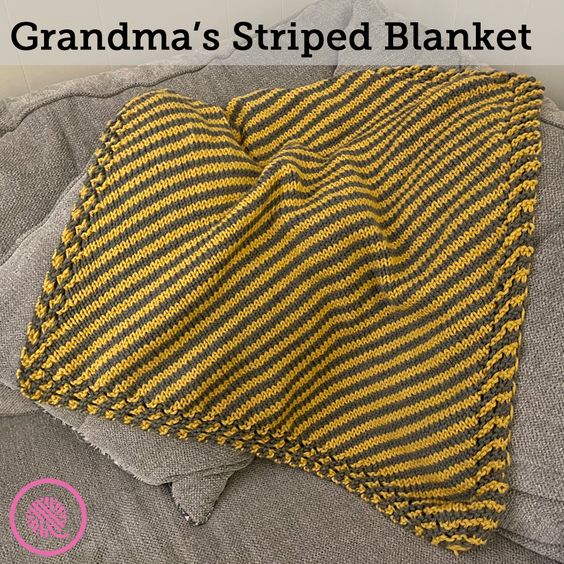
Knitted Grandma’s Striped Blanket
Grandma's cozy striped blanket, lovingly crafted with knitted stitches, is a cherished heirloom that brings warmth and comfort to all who wrap themselves in its soft embrace. Each stripe tells a story of patience and skill, as Grandma carefully selected the colors and intricately wove them together to create a beautiful and unique piece of art. The blanket is not just a practical item, but a symbol of love and care, a tangible reminder of Grandma's thoughtfulness and creativity. The blanket is more than just a piece of fabric - it is a symbol of family, tradition, and the enduring bond between loved ones.
MATERIALS
(Materials list may contain affiliate links to products I used to make this project. Using these links costs you nothing, but helps support GKK.)
Yarn
Bulky (#5) weight yarn
Contrast A – Yarn Bee Soft & Sleek Chunky (211 yds/5 oz., 193 m/142 g) in color Mustard used in sample. 1 (1, 2, 3, 4, 8) balls of yarn.
Contrast B – Yarn Bee Soft & Sleek Chunky (211 yds/5 oz., 193 m/142 g) in color Dark Grey used in sample. 1 (1, 2, 3, 4, 8) balls of yarn.
Needles
US-11 (8.00 mm) – circular needle.
Knitter’s Pride Dreamz Interchangeable used in sample.
Tapestry needle
ABBREVIATIONS
K = Knit
K2tog = Knit 2 stitches together
Kfb = Knit into the front and back of the stitch
P = Purl
Pat = Pattern
Rep = Repeat
RS= Right Side
St(s) = Stitch(es)
WS= Wrong Side
YO = Yarnover
GAUGE
12 sts x 17.5 rows in 4” (10 cm) in stockinette stitch
SKILL LEVEL
Easy+
MEASUREMENTS
Lovey: 10” x 10” (25 x 25 cm)
Cuddler: 20” x 20” (51 x 51 cm)
Stroller: 30” x 30” (76 x 76 cm)
Crib: 45” x 45” (114 x 114 cm)
Throw: 60” x 60” (152 x 152 cm)
Jumbo Throw: 80” x 80” (203 x 203 cm)
NOTES
This pattern can be used to make a square blanket with any weight yarn and an appropriate needle size. All measurements and stitch counts for the listed sizes are specific to the yarn listed above.
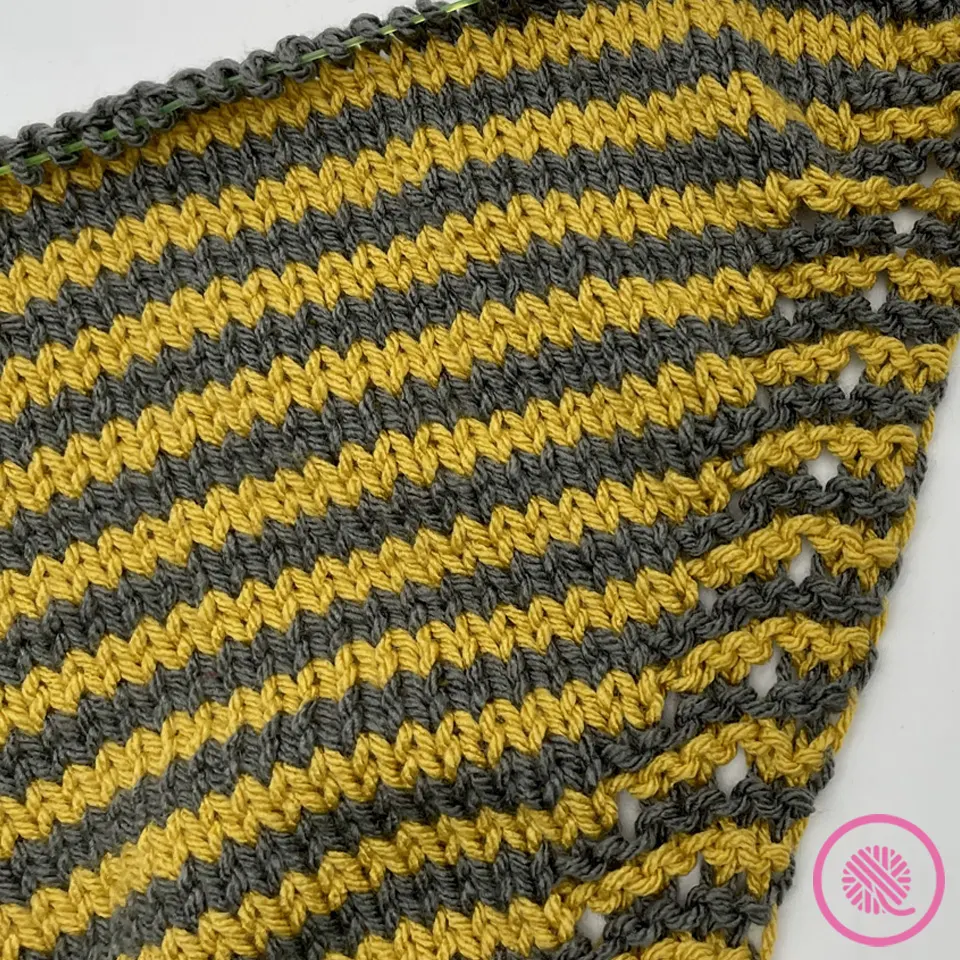
This blanket is worked corner to corner, or C2C. Instead of working from bottom to top edge you cast on at one corner and work increases until you reach your desired size then continue the pattern working decreases until you reach the opposite corner and bind off.
Changing Color – On this striped version, you will change colors every other row. The color you are not using will be carried up the side edge. I’ve included a tutorial video showing this easy method.
INSTRUCTIONS
With A, Cast on 4 sts.
Row 1: Knit 4. [4 sts]
Row 2 (RS): With B, K1, Kfb, k1, kfb. [6 sts]
Row 3: Knit all.
Row 4: With A, K1, Kfb, k1, kfb, k2. [8 sts]
Row 5: Knit all.
Row 6: With B, K2, yo, k2, yo, knit to end of row. [10 sts]
Row 7: Knit all.
Row 8: With A, K2, yo, k2, yo, knit to end of row. [12 sts]
Row 9: K2, yo, k2, yo, knit to end of row. [14 sts]
Row 10: With B, Knit all.
Row 11: K6. Purl to last 6 sts. K6.
Row 12: With A, K2, yo, k2, yo, knit to end of row.
Row 13: K2, yo, k2, yo, k2. Purl to last 6 sts. K6.
Row 14: With B, Knit all.
Row 15: K6. Purl to last 6 sts. K6.
Repeat Rows 12-15 until you reach 38 (70, 106, 158, 210, 282) stitches or until desired length alongside one edge, ending after a Row 15.
Decrease
Row 16: With A, K1, k2tog, yo, k1, k2tog, yo. Knit to end of row.
Row 17: K1, k2tog, yo, k1, k2tog, yo, k2. Purl to last 6 sts. K6.
Row 18: With B, K1, k2tog, k1, k2tog. Knit to end of row.
Row 19: K1, k2tog, k1, k2tog, k2. Purl to last 6 sts. K6.
Repeat Rows 16-19 until 14 sts remain.
Row 20: With A, K1, k2tog, yo, k1, k2tog, yo. Knit to end of row.
Row 21: K1, k2tog, yo, k1, k2tog, yo, k2. Knit to end of row.
Row 22: With B, K1, k2tog, k1, k2tog. Knit to end of row. [12 sts]
Row 23: K1, k2tog, k1, k2tog, k2. Knit to end of row. [10 sts]
Row 24: With A, K1, k2tog, yo, k1, k2tog, yo. Knit to end of row.
Row 25: K1, k2tog, k1, k2tog. Knit to end of row. [8 sts]
Row 26: With B, K1, K2tog, k1, k2tog. Knit to end of row. [6 sts]
Row 27: K1, k2tog, k1, k2tog. Knit to end of row. [4 sts]
Bind off remaining sts. Cut yarn and pull tail through. Weave in ends and block.