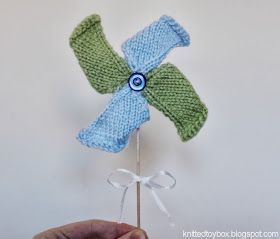
Knitted Pinwheel Toy
Imagine a charming handmade toy that is not only visually appealing but also provides endless entertainment for children. This unique creation, known as the Knitted Pinwheel Toy, is carefully crafted using colorful yarn and intricate knitting techniques. The pinwheel design features vibrant hues and intricate patterns that capture the attention of little ones, sparking their imagination and creativity. With its soft texture and lightweight construction, this toy is perfect for young children to play with both indoors and outdoors. This toy is not only visually stimulating but also provides a tactile experience that engages children's senses and encourages exploration. Whether spinning the pinwheel or simply admiring its beauty, children are sure to be captivated by this delightful handmade creation.
Materials
• Set of 3.25mm needles (UK size 10, US size 3)
• Yarn needle
• 6" wooden dowel (I used a long cotton cleaning swab)
• Button
• Glue Gun (optional)
• Ribbon (optional)
Yarn weight: Double knitting/ worsted weight
Gauge: not important but make it tight so gaps don't show through
Finished measurements: approx 4.5" long and 4.5" wide (without the stick)
TOY SAFETY
Remember never use embellishments such as buttons or ribbon on a toy intended for a child under 3 years old, they are a potential choking hazard, please embroider on any features so that children cannot swallow them or stick them up nostrils or in ears!
Pin Wheel Pattern
Make 4
CO 20 (I used knit cast on)
1. knit
2. knit
3. purl
4. k1, k2tog, k14, k2tog, k1 (18sts)
5. purl
6. k1, k2tog, k12, k2tog, k1 (16sts)
7. purl
8. k1, k2tog, k10, k2tog, k1 (14sts)
9. purl
10. k1, k2tog, k8, k2tog, k1 (12sts)
11. purl
12. k1, k2tog, k6, k2tog, k1 (10sts)
13. purl
14. k1, k2tog, k4, k2tog, k1 (8sts)
15. purl
16. k1, k2tog, k2, k2tog, k1 (6sts)
17. purl
18. k1, k2tog twice, k1 (4sts)
19. purl
Cut yarn, leaving a long tail. Draw tail through remaining stitches and pull tightly and secure.
Make it up
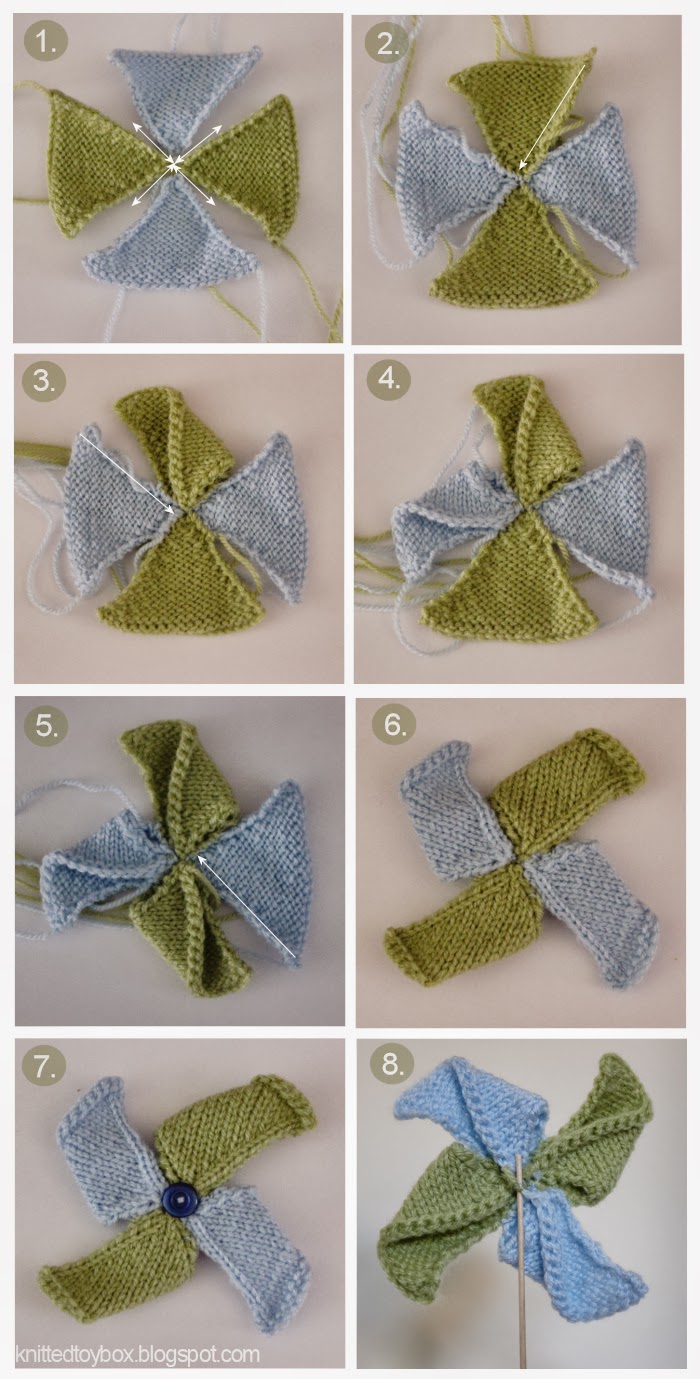
- Position your knitted pieces in the order you want them with the wrong side (purl side) up. Sew together the sides approx 1" from the centre point as shown in diagram 1.
- On the top triangle take the upper right corner and fold it down into the centre of the pin-wheel and secure in place.
- Repeat step 2 with the left side triangle.
- Repeat step 2 with the bottom triangle.
- Repeat step 2 with the right side triangle.
- Your pinwheel should look like this when truned the side side up, you may want to weave in all the loose yarn ends at this point, leaving two strands on the wrong side to attach the button and wooden dowel.
- Attach a contrasting button to the centre of the pin wheel on the right side.
- Attach the wooden dowel to the wrong side. I simply tied the dowel with the two extra strands left from step 6, however I recommend using a glue gun to attach it securely.
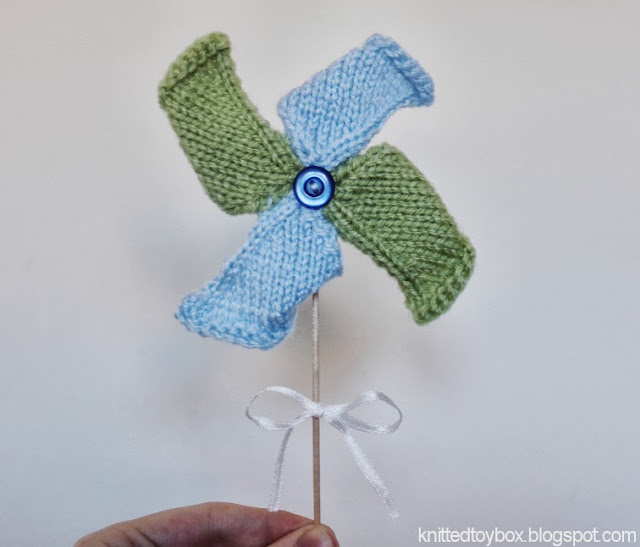
I added a little ribbon on the stick, which I thought would be a cute idea especially if these are used as cake toppers or even as place cards for a party or wedding.